
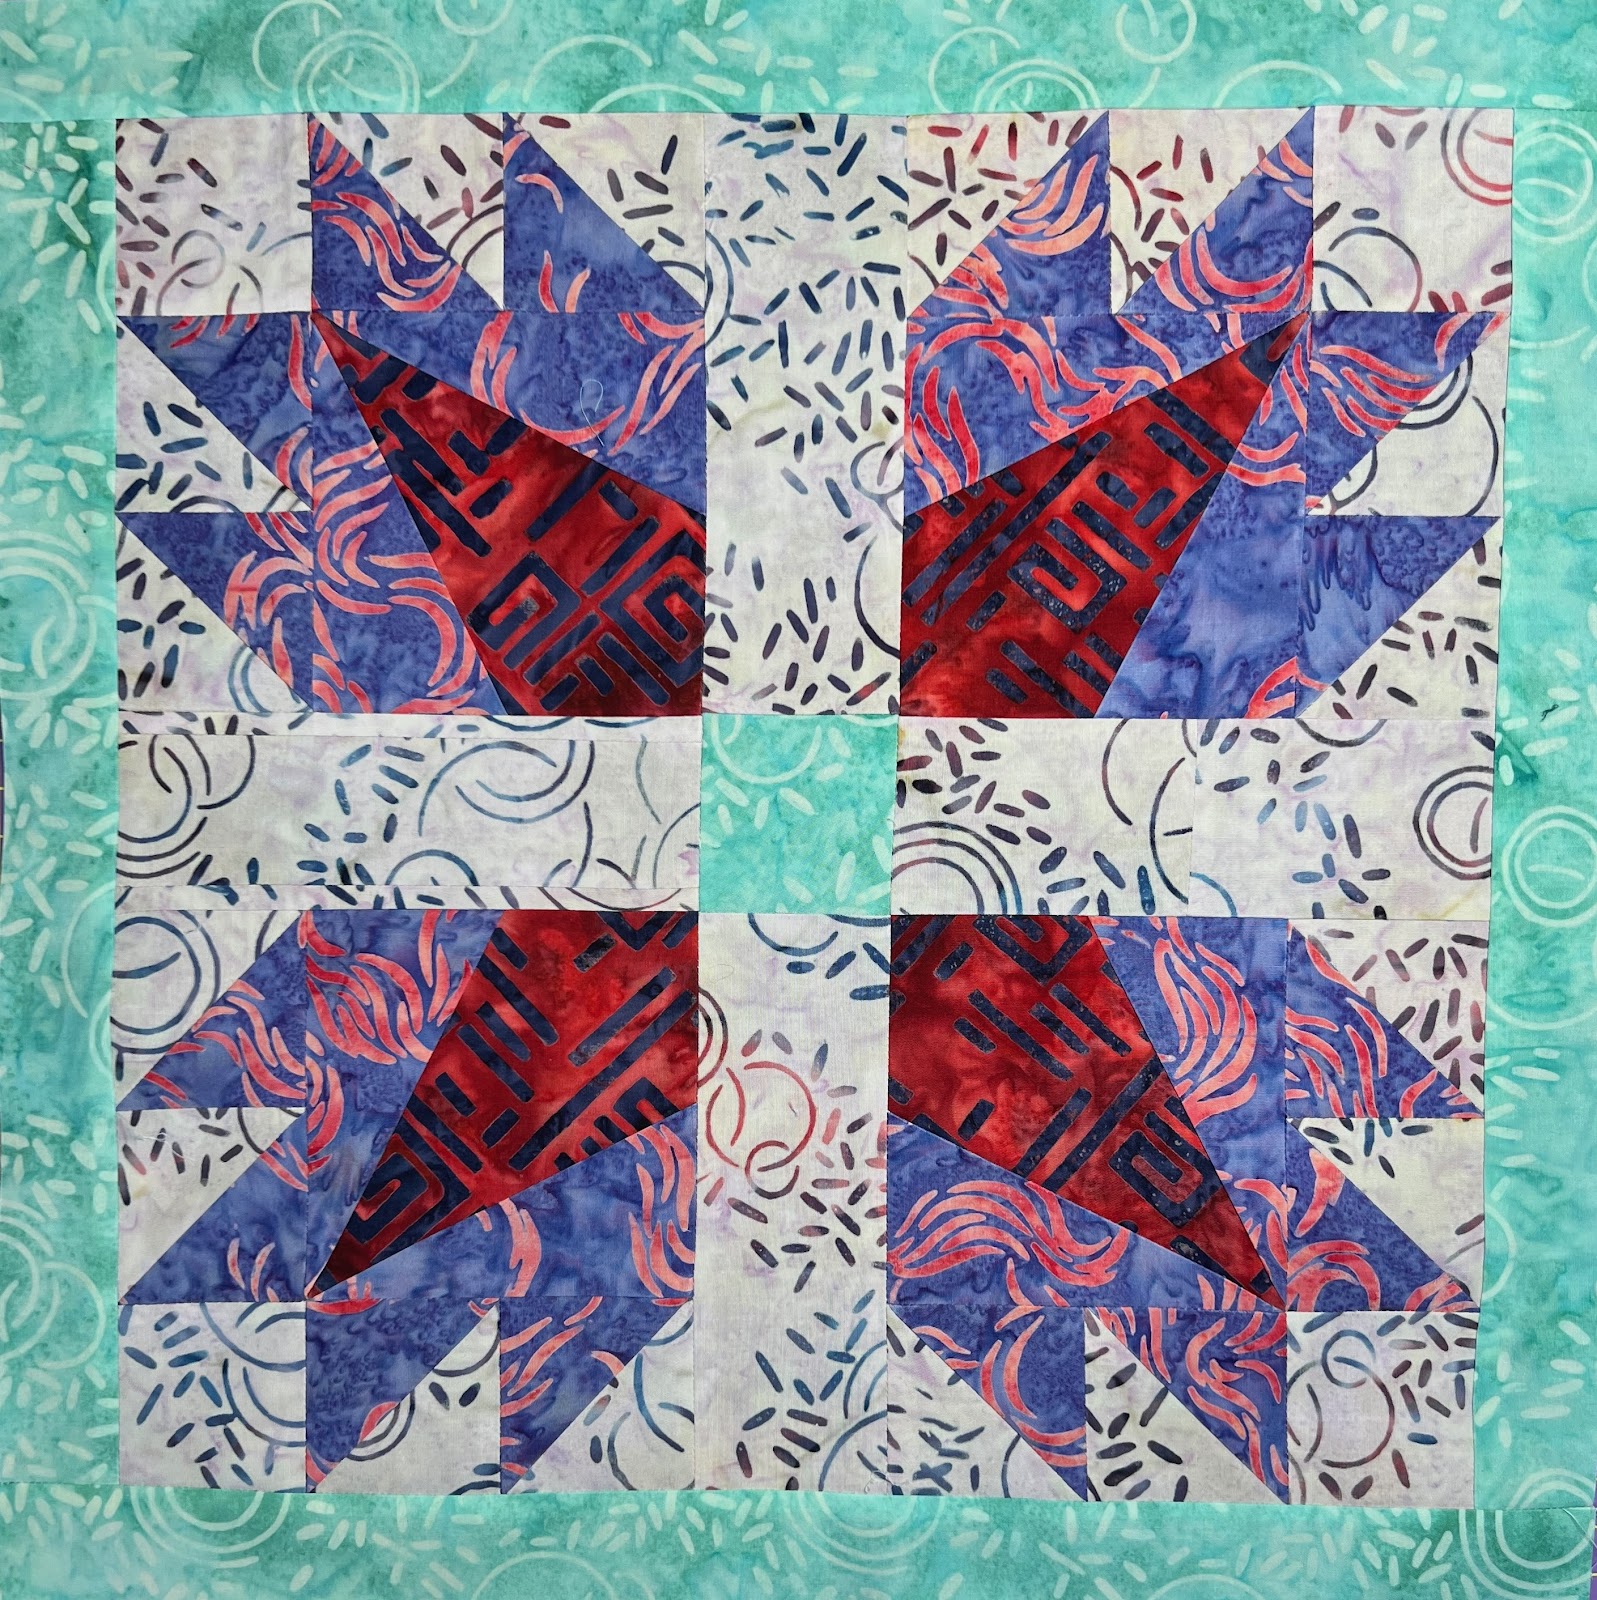
collection Bubbles, Curves and Corners. It is a beautiful collection of fabric by Island Batik featuring pinks, purples and teals. I'm a girl who loves purple so this collection is right up my alley. My assignment was to come up with a project featuring some of these fabrics using one of the Studio 180 free Blockbuster blocks. I chose Blockbuster #81 Daylily which uses the Corner Beam, Tucker Trimmer I and the Quilter's Magic Wand.


I created (4) 4" finished size (4.5" cut sized) Corner Beams. Deb has an excellent video to help you with making Corner Beams.
Next are the (16) 2" finished (2.5" cut sized) half square triangles. That's a lot of small half square triangles! Not a problem when I pulled out my Eight at Once Technique Sheet. This technique sheet is awesome. It has the directions and measurements for creating HSTs from 1" - 6" finished sizes. Within minutes, I was able to create the 16 HST that I needed. I used my Tucker Trimmer I to trim them to the perfect 2.5" needed. Deb also has a video to help you with how to use this technique sheet.
I had never made a throw pillow before so I searched the Internet to find advice. I found many YouTube tutorials that taught me how to make a pillow cover with an envelope opening for the backing of my pillow. It's pretty easy. Basically, take the measurement of your block, divide it by 2 and then add 4" to that total. Cut two pieces of fabric that are the width of the block and by the length you just figured out. My pillow was 16.5"/2=8.25". Then 4"+8.25"=12.25". I cut my two backing pieces at 12.25" X 16.5". I folded over one end of each of the backing pieces on the long side 1/2" twice and sewed that closed to create the envelope opening. Place the two pieces right sides together so that they cover the whole block and overlap in the middle. Sew around the edges making sure to backstitch on corners and points where the two pieces overlap, clip the corners and zig zag around the edge to prevent fraying. It sounds like a lot but it was super easy. Turn it right-sides out and stuff the pillow form in. You've got yourself a Blockbuster Daylily throw pillow! Don't you just love those yummy colors from the Bubble, Curves and Corners collection!!!

I also made the 21" block into a throw pillow using the same method.
.jpeg)
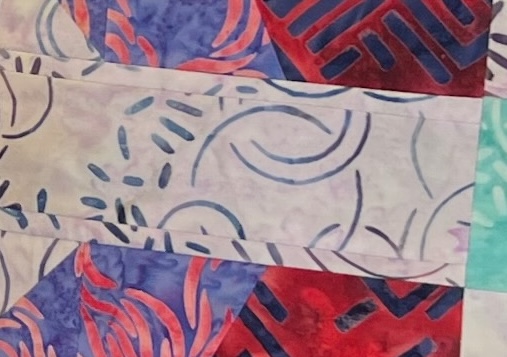
I bet you didn't even notice that I was the fabric wasn't wide enough and I had to piece together smaller scraps to create the size I needed!

I wanted to share some of the cool tools I use every day and never sew without them.

Seam Fix This is a seam ripper that actually makes ripping out seams enjoyable....well, bearable. Not only does it rip seams out but the rubber end will "erase" those left over threads still in the fabric in a jiffy. No more picking out the threads by hand!
The Blog Hop Continues
Tomorrow my fellow Certified Instructor Tracy Stinger will be featured on the Blog Hop. Be sure to check out her awesome project. Check out all the Blog Hop posts here:
Saturday October 12 - Studio 180 kick off (https://studio180design.net/blogs/news)
Monday, Oct. 14 - Allison Spence (https://www.meadowrosequilts.com/blog)
Tuesday, Oct. - 15 Sue Adams (https://quiltsbysue55.blogspot.com/)
Wednesday, Oct. -16 Tracy Stinger (https://busybeequilter.com/)
Thursday, Oct. - 17 Diana Mann (https://murgabooquilts.com/blogs/news)
Friday, Oct. 18 - Kathy Tucker (https://kandsquilting.com/blog-1)
Saturday, Oct. 19 - Tina Dillard (https://quiltingaffection.blogspot.com/)
Monday October 21 - Studio 180 wrap up (https://studio180design.net/blogs/news)

